Underrated Ideas Of Info About How Do You Connect 6 Panels In Series
")
Unlocking the Power of the Sun
1. Why Series Connections Matter
So, you're diving into the world of solar energy, excellent choice! Harnessing the sun's power is a fantastic way to reduce your carbon footprint and potentially save some serious money on your electricity bill. But before you jump in, there's a bit of electrical choreography you need to understand — specifically, how to connect those shiny new solar panels. One common method is wiring them in series, and in this article, we're focusing on how to connect 6 panels in series.
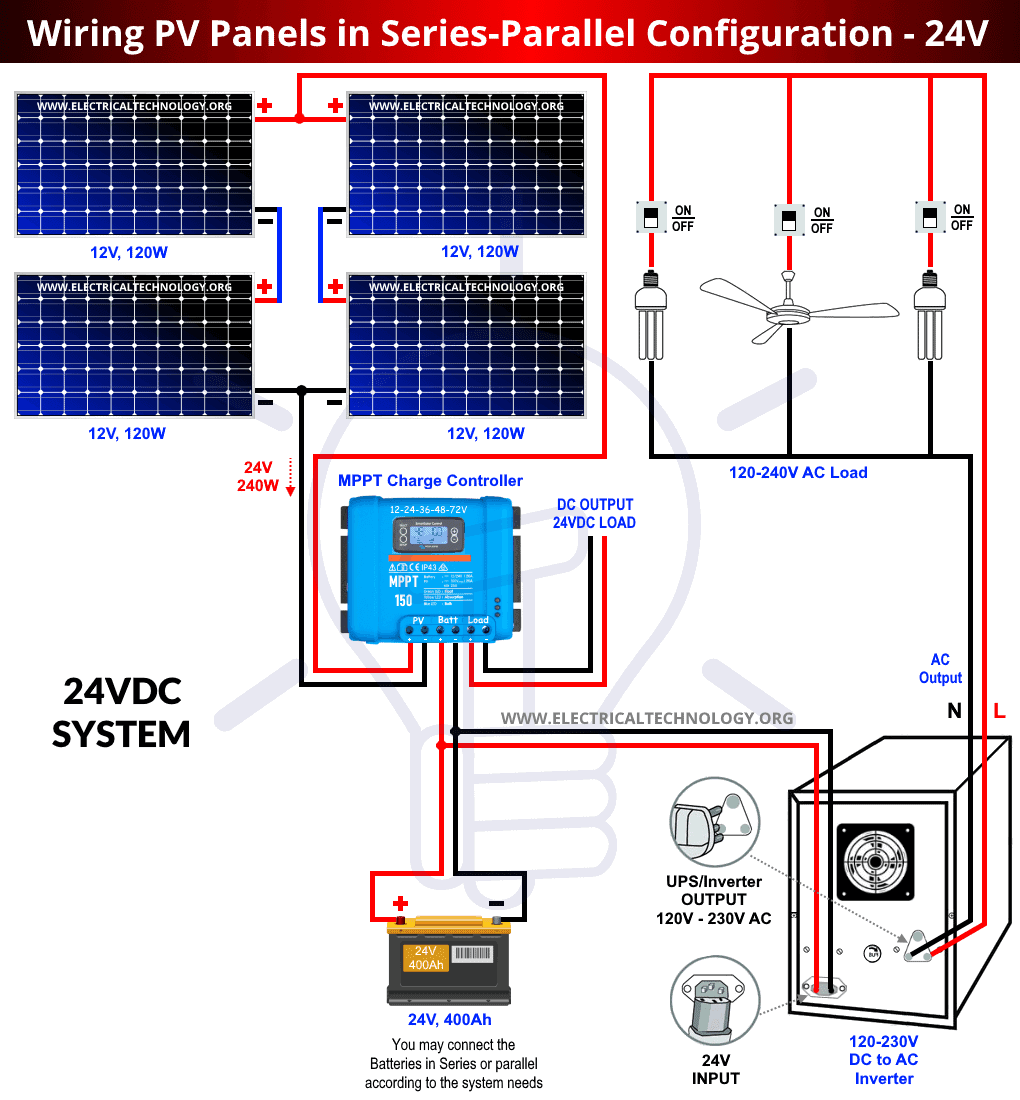
Why series? Well, connecting solar panels in series is like stacking batteries end-to-end. It boosts the voltage while maintaining the same current. Think of it like this: each panel contributes its voltage to the total, creating a stronger electrical "push" that can be more effectively used by your inverter (the device that converts DC electricity from your panels to AC electricity for your home).
Imagine trying to push a car. One person might struggle, but six people working together can move it much more easily. That's essentially what happens when you connect solar panels in series. The increased voltage allows the electricity to flow more efficiently through the system.
But before you start grabbing wires, safety first! Working with electricity can be dangerous, so always disconnect any power sources and wear appropriate safety gear like gloves and eye protection. And if you're at all unsure about any part of the process, consult a qualified electrician. Seriously, don't mess around with high voltage without proper knowledge.
The Step-by-Step Guide to Series Connections
2. Preparing Your Panels and Equipment
Alright, let's get down to the nitty-gritty (okay, maybe not nitty-gritty, how about essential details?). First, make sure you have all the necessary components. You'll need your six solar panels, of course, along with appropriately sized solar cables (usually 10 or 12 AWG), MC4 connectors (these are the standard connectors for solar panels), and any tools you might need for crimping or securing the connections. A multimeter is also helpful for testing your connections later.
Before you even think about wiring anything, double-check the voltage and current ratings of your solar panels. This information is typically found on a label on the back of each panel. Make sure that the voltage of the series string (the total voltage of all six panels added together) doesn't exceed the maximum input voltage of your inverter. Exceeding this limit can damage your inverter, which is a very expensive mistake.
Plan your layout. Determine where you're going to physically position the panels. This will influence the length of the cables you'll need. Consider factors like shading, orientation (ideally facing south in the northern hemisphere), and tilt angle to maximize sunlight exposure. Proper planning is crucial for optimal energy production.
Inspect each panel for any damage before you begin. Look for cracks, broken glass, or any signs of wear and tear. A damaged panel won't perform as expected and could potentially cause problems down the line. It's better to catch any issues before you invest the time and effort into wiring everything up.

How To Connect Multiple Solar Panels At Liam Threlfall Blog
Making the Connections
3. Wiring Like a Pro (or at least, like someone who knows what they're doing)
This is where the magic happens. Each solar panel has two MC4 connectors: a positive (+) connector and a negative (-) connector. To connect the panels in series, you'll connect the positive connector of one panel to the negative connector of the next panel. Repeat this process until you've connected all six panels in a single string. Think of it like linking sausages together — positive to negative, positive to negative, and so on.
Start with your first panel. Connect a cable from its positive (+) MC4 connector to the negative (-) MC4 connector of the second panel. Ensure the connection is secure; you should hear a click when the connectors are properly engaged. A loose connection can cause resistance, which leads to heat and potentially a fire hazard. Always prioritize safety.
Continue connecting the panels in this manner until you reach the sixth and final panel. The sixth panel will have a negative (-) connector that remains unconnected. This negative connector will be the negative output of your series string, which you'll connect to your inverter. Similarly, the first panel in the series will have a positive (+) connector that remains unconnected. This will be the positive output of your series string.
Use appropriately sized solar cable to extend the positive and negative outputs from your series string to the inverter. You might need to use crimping tools to attach MC4 connectors to the ends of these cables. Make sure the polarity is correct — positive to positive and negative to negative. A reverse polarity connection can damage your inverter. Again, double-check everything before you energize the system.
 Go IT")
How To Wire Solar Panels In Series Vs Parallel (For Beginners) Go IT
Testing and Verification
4. Ensuring Everything is Working as Expected
Once you've made all the connections, it's time to test your work. This is where that multimeter comes in handy. Use the multimeter to measure the voltage and current of the series string. The voltage should be approximately the sum of the individual panel voltages, and the current should be roughly the same as the current of a single panel (with some slight variations due to temperature and sunlight conditions).
Compare the measured values to the expected values based on the panel specifications. If the voltage is significantly lower than expected, it could indicate a loose connection or a faulty panel. If the current is zero, it could mean there's a break in the circuit or a short circuit. Troubleshoot any discrepancies before connecting the system to the inverter.
Visually inspect all the connections again. Look for any loose wires, damaged connectors, or signs of overheating. A thorough inspection can prevent future problems and ensure the safety of your solar system. It's better to spend a few extra minutes now than to deal with a major issue later.
Document your work. Take photos of the connections and write down the measured voltage and current values. This documentation can be helpful for future maintenance or troubleshooting. Plus, it's always good to have a record of what you've done.

Connecting to Your Inverter
5. The Final Step to Solar Power Generation
Now that you've verified the series string is working correctly, it's time to connect it to your inverter. Before you do anything, make absolutely certain that the inverter is turned off and disconnected from the grid. Safety is paramount when working with electrical equipment.
Connect the positive (+) output of the series string to the positive (+) input of the inverter, and connect the negative (-) output of the series string to the negative (-) input of the inverter. Again, double-check the polarity to avoid damaging the inverter. A mistake here could be very costly.
Once the connections are made, you can turn on the inverter and monitor its performance. The inverter should start converting the DC electricity from the solar panels into AC electricity for your home. You can usually monitor the power output on the inverter's display or through a monitoring app.
Keep an eye on the system for the first few days to ensure it's operating correctly. Check the inverter's output regularly and monitor the performance of the solar panels. If you notice any unusual behavior, consult a qualified electrician. With a bit of care and attention, your series-connected solar panels should provide you with years of clean, renewable energy.

How To Connect Two Solar Panels In Series At Jerry Rounds Blog
FAQ
6. Your Burning Questions Answered
Q: What happens if one panel in the series fails?A: If one panel fails, the entire series string will be affected. The failed panel acts like a roadblock, reducing the current flow through the string. Some inverters have Maximum Power Point Trackers (MPPTs) that can mitigate this, but overall power generation will be reduced. It's essential to address a failed panel promptly.
Q: Can I mix different types of solar panels in a series string?A: It's generally not recommended to mix different types of solar panels in a series string. Panels with different voltage or current ratings can cause imbalances and reduce the overall performance of the system. It's best to use identical panels for optimal results. Think of it as trying to run a race with runners of varying speeds — the slowest runner will hold everyone back.
Q: How do I protect my solar panels from lightning strikes?A: Lightning strikes can severely damage solar panels and inverters. To protect your system, consider installing surge protection devices (SPDs) on both the DC and AC sides of the inverter. SPDs divert excess voltage from lightning strikes to ground, preventing damage to your equipment. Grounding the system properly is also crucial for lightning protection.
Q: Is it better to connect panels in series or parallel?A: The choice between series and parallel connections depends on your specific needs and the requirements of your inverter. Series connections increase voltage, while parallel connections increase current. In many residential systems, series connections are preferred to match the voltage requirements of the inverter. However, in off-grid systems or systems with specific inverter requirements, parallel connections may be more suitable. Consider the overall system design when making this decision.